Author:Xingfa Knitting MachineFROM:Circular Knitting Machine Manufacturer TIME:2024-04-17
Introduction
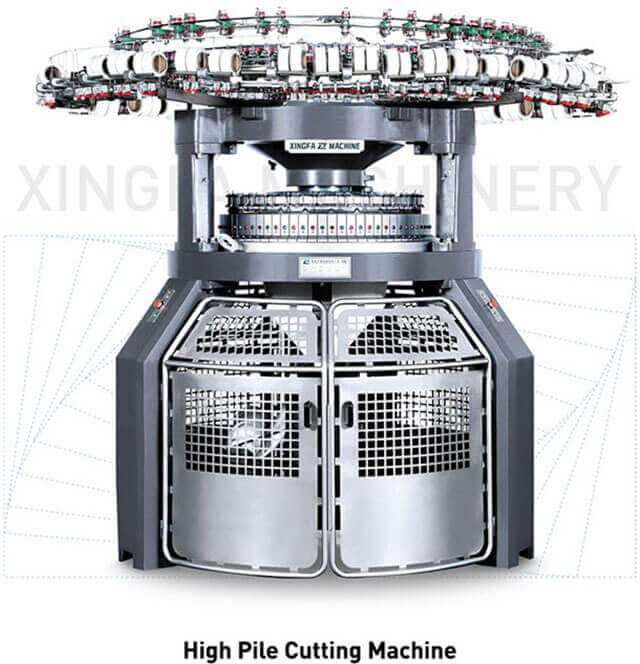
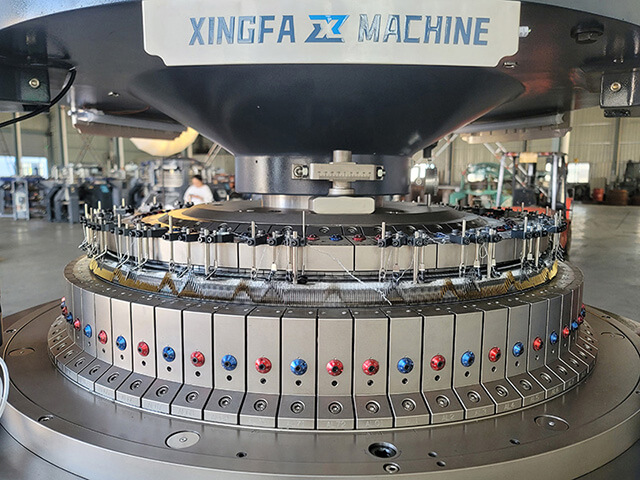
In this installation guide, we will provide you with step-by-step instructions on how to install a circular knitting machine cylinder. The cylinder is a crucial component of the knitting machine and is responsible for holding the needles that create the knitted fabric. By following the instructions carefully, you can ensure a successful installation and optimal performance of your knitting machine.
Before starting the installation process, it is essential to prepare the work area. Clear any clutter and ensure you have enough space to maneuver around the machine. Additionally, make sure you have all the necessary tools and equipment readily available.
To prevent any accidents or damages during installation, it is crucial to secure the knitting machine. Use sturdy clamps or bolts to secure the machine to a stable surface. This will ensure that the machine remains steady throughout the installation process.

If you are replacing an old cylinder, carefully remove it from the knitting machine. Follow the manufacturer's instructions to disconnect any attachments or mechanisms that are connected to the cylinder. Take extra care not to damage any other parts of the machine during this process.

Before installing the new cylinder, it is important to clean the machine thoroughly. Use a soft cloth and a gentle cleaning solution to remove any dust, debris, or residue from the machine. This will help ensure smooth operation and longevity of the new cylinder.
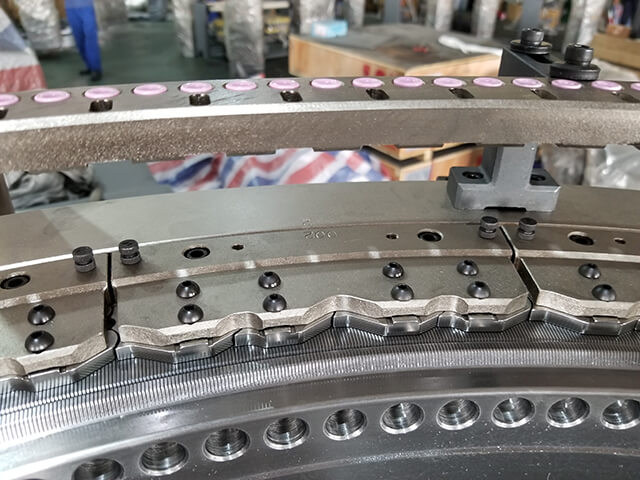
Begin by aligning the new cylinder with the machine's needle bed. Carefully insert the cylinder into the designated slot, ensuring that it fits securely. Use the manufacturer-provided instructions and any necessary tools to attach the cylinder firmly to the machine.
Once the new cylinder is installed, perform a test run to ensure everything is functioning correctly. Connect the necessary power supply and follow the machine's instructions to check the movement of the needles and the overall operation of the cylinder. Make any adjustments as needed.
After confirming that the new cylinder is working correctly, reassemble any attachments or mechanisms that were disconnected during the removal process. Ensure that all connections are secure and properly aligned before proceeding to the next step.

Before considering the installation complete, perform a final inspection of the knitting machine. Check for any loose bolts or connections and tighten them if necessary. Also, ensure that the cylinder is properly aligned with the needle bed and that there is no interference with other parts of the machine.
In conclusion, installing a circular knitting machine cylinder requires careful preparation and attention to detail. By following the step-by-step instructions provided in this guide, you can successfully install the cylinder and ensure optimal performance of your knitting machine. Remember to consult the manufacturer's instructions and seek professional assistance if needed. With proper installation, you can enjoy seamless knitting operations and excellent fabric production.

 Tel: +86-18606960861
 Email:
 MP/WhatsApp: +86-18606960861
 Manufacturer Address:B26-1 Taiwanese high-tech industrial base, Luoyang town , Quanzhou city, Fujian PRO. China.