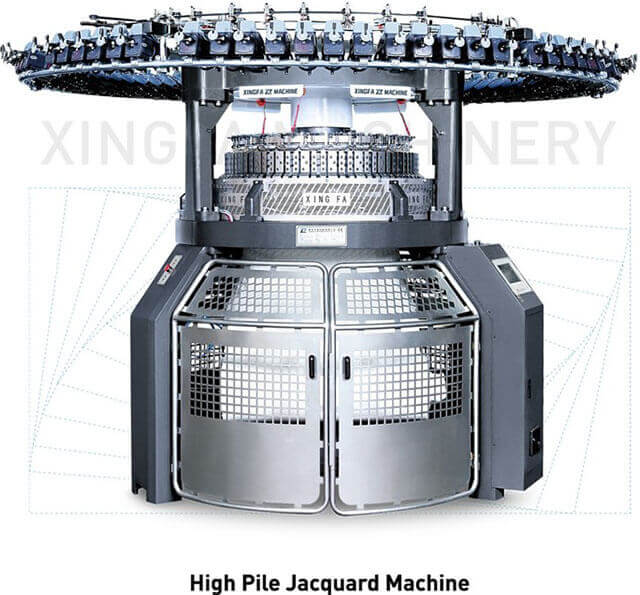
Installing and Setting up Your Circular Knitting Machine for Hats
Introduction
A circular knitting machine is a fantastic tool for creating beautiful hats with ease and efficiency. Whether you're a seasoned knitter or just starting out, setting up your circular knitting machine correctly is crucial to ensure optimal performance and great results. In this guide, we will walk you through the process of installing and setting up your circular knitting machine specifically for making hats.
1. Gather Your Equipment
Before you begin, make sure you have all the necessary equipment. This includes your circular knitting machine, yarn suitable for hats, a hat template or pattern, weights, and a casting-on comb. Having everything prepared beforehand will save you time and frustration during the setup process.
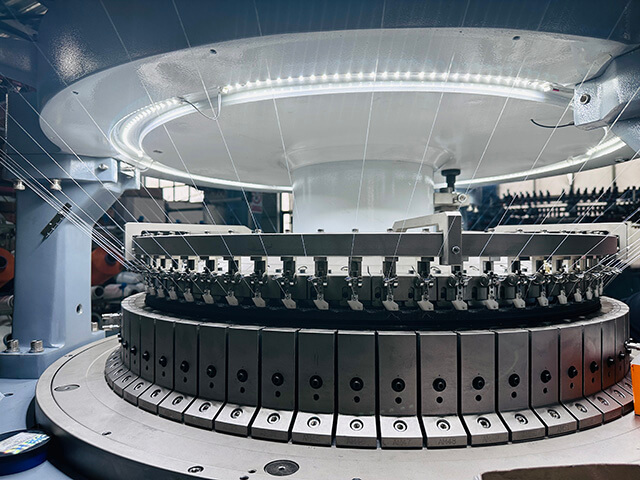
2. Assemble and Secure the Machine
Follow the manufacturer's instructions to assemble your circular knitting machine. Ensure all parts are securely connected and tightened. Place the machine on a sturdy surface, such as a table or stand, and fasten it down to prevent any unnecessary movement while you work.
3. Threading the Yarn
Thread the yarn through the tension disks, guides, and finally the machine's needles. Make sure the yarn is properly seated and tensioned to avoid any knitting issues. Refer to the machine's manual for specific threading instructions, as they may vary depending on the model.
4. Casting-On Stitches
Use the casting-on comb to create a row of evenly spaced stitches on the machine's needles. Begin by placing the comb between the first and second needle, bring the yarn over the top of the comb, and pull it through the space between the needles. Repeat this process for all needles until the desired number of stitches is cast on.
5. Setting Up the Stitch Pattern
Depending on your hat pattern, you may need to adjust the stitch pattern on your circular knitting machine. Consult your pattern instructions to determine the appropriate settings for stitch type, stitch size, and any necessary adjustments to the machine's dials or buttons. Take your time to ensure accuracy.
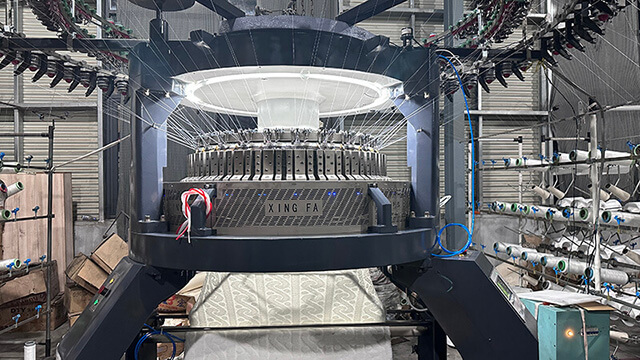
6. Knitting Your Hat
Once everything is set up, it's time to start knitting your hat! Turn the hand crank or activate the machine's motor, depending on the type of machine you have. Watch as the needles pick up the yarn and create each stitch. Use weights to ensure even tension and smooth knitting. Continue knitting until the hat reaches the desired length.
7. Binding Off and Finishing
When your hat is complete, it's time to bind off the stitches. Cut the yarn, leaving a long tail. Thread the tail through a large-eye blunt needle, and slide the needle through each stitch on the machine, removing them from the needles. Once all stitches are off the needles, gently tighten the yarn and secure it in place. Weave in any remaining loose ends to finish your hat.
Conclusion
By following these steps, you can successfully install and set up your circular knitting machine for making hats. Remember to gather all your equipment, assemble and secure the machine, thread the yarn correctly, cast on your stitches, set up the stitch pattern, knit your hat with care, and finally bind off and finish it beautifully. With practice, you'll be creating fabulous hats in no time!


 Tel: +86-13533991359
 Email: info@xingfamachine.com
 MP/WhatsApp: +86-13533991359
 Manufacturer Address:B26-1 Taiwanese high-tech industrial base, Luoyang town , Quanzhou city, Fujian PRO. China.